The Ultimate Guide to Pool Nosing Tile: Enhance Your Pool’s Safety and Aesthetics
Swimming pools are a fantastic addition to any home, providing a perfect place for relaxation, exercise, and fun. Among the various elements that contribute to the appeal and functionality of your pool, pool nosing tile plays a crucial role. This article will delve into everything you need to know about pool nosing tiles, from their benefits to installation and maintenance, ensuring your pool stands out as a beautiful and safe oasis.
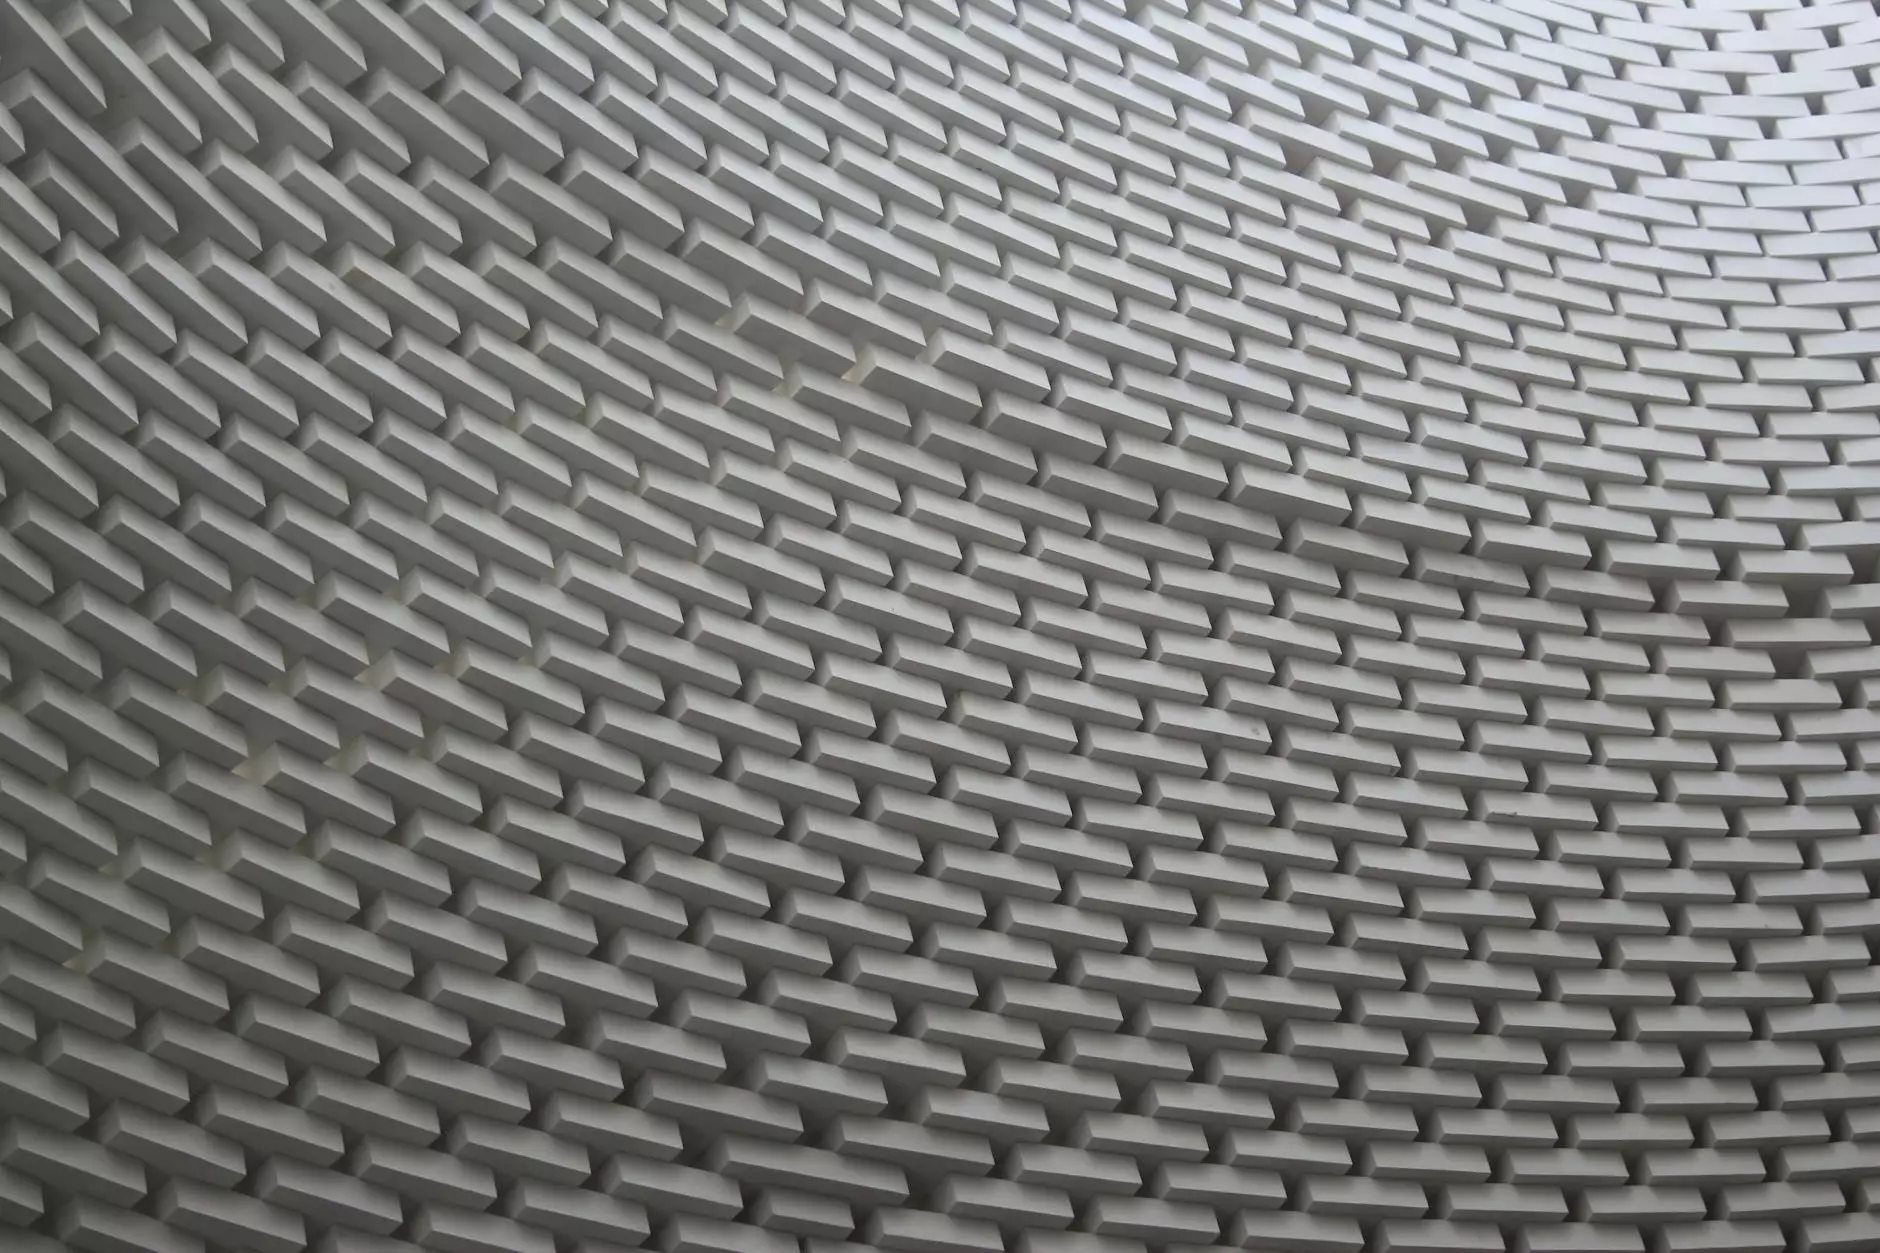
What is Pool Nosing Tile?
Pool nosing tile is a specialized type of tile that is designed to be installed around the edges of swimming pools. These tiles serve several purposes, including:
- Safety: They provide a non-slip surface that helps prevent accidents.
- Aesthetic Appeal: Available in various colors and designs, they enhance the overall look of the pool.
- Durability: Designed to withstand water exposure and pool chemicals, they last significantly longer than regular tiles.
Benefits of Using Pool Nosing Tile
Choosing the right pool tiles is essential for both safety and style. Here are some key benefits of opting for pool nosing tile:
1. Enhanced Safety Features
Pool areas can become slippery, especially when wet. Tiles with textured surfaces or a matte finish help mitigate this hazard, reducing the risk of slips and falls. Many pool nosing tiles are specifically designed for wet environments, providing optimal grip.
2. Aesthetic Versatility
Available in a wide array of colors, sizes, and textures, pool nosing tiles allow homeowners to customize their pool area according to personal tastes and overall landscape design. Whether you prefer a modern chic look or a classic stone aesthetic, there’s a pool tile to match your vision.
3. Durability and Longevity
Constructed from high-quality materials such as porcelain, ceramic, or natural stone, these tiles are designed to resist wear from chlorine, UV rays, and extreme weather conditions, making them a long-term investment for your pool's functionality and appearance.
4. Easy Maintenance
Cleaning and maintaining pool nosing tiles is straightforward. Most tiles require simple soap and water to keep them looking fresh and vibrant, unlike other materials that may need extensive care.
Factors to Consider When Choosing Pool Nosing Tile
When selecting pool nosing tiles, consider the following factors:
1. Slip Resistance
Look for tiles rated for wet areas, ensuring that they offer enough friction to prevent slipping. The finish of the tile can greatly affect its slip resistance.
2. Color and Style
Choose colors and styles that complement your home’s exterior and landscape design. Consider how the tile will look in various lighting conditions, both day and night.
3. Material Quality
Opt for high-quality materials that can withstand the outdoor elements. Porcelain and natural stone are popular options for their durability and aesthetic appeal.
4. Size and Thickness
The size of the tile will influence the pool's visual proportions. Thicker tiles may be more durable but could alter the overall aesthetic. Choose a size that works harmoniously with your pool dimensions.
How to Install Pool Nosing Tile
Installing pool nosing tiles can be a rewarding DIY project or best handled by professionals. Here’s a step-by-step guide for installation:
Step 1: Prepare the Surface
Ensure the pool edge is clean, dry, and free from any debris. If there are existing tiles, remove them carefully to prepare for the new installation.
Step 2: Measure and Plan
Accurately measure the required area and plan the layout of the tiles, including where cuts will need to be made. Planning ensures a symmetrical and balanced look.
Step 3: Apply Adhesive
Use a high-quality tile adhesive suitable for wet areas. Apply the adhesive in a smooth layer using a notched trowel to create an even base for the tiles.
Step 4: Lay the Tiles
Begin laying the tiles according to your planned layout, pressing each tile firmly into the adhesive. Utilize spacers for uniform grout lines.
Step 5: Grout the Tiles
Once the tiles are set, apply grout to fill in the spaces between them. Choose a grout that complements your chosen tile color and provides additional water resistance.
Step 6: Allow to Cure
Follow manufacturer instructions for curing time before exposing the tiles to water. Usually, a 48-72 hour period is recommended for maximum adhesion and durability.
Maintaining Your Pool Nosing Tile
To keep your pool nosing tiles looking their best, implement regular maintenance practices:
- Regular Cleaning: Sweep or hose off dirt and debris regularly. Use a mild detergent for occasional deep cleaning.
- Inspect for Damage: Regularly check for any cracks or loose tiles and repair them promptly to avoid further issues.
- Seal if Necessary: Depending on the material, consider applying a sealant every 1–2 years to protect against stains and moisture infiltration.
Conclusion
Pool nosing tile is an essential component of any swimming pool, enhancing safety and adding to the visual appeal of your aquatic space. By choosing the right materials and colors, following proper installation techniques, and adhering to maintenance best practices, you can ensure that your pool edge remains both beautiful and safe for all your family gatherings and summer parties.
For more information on swimming pool renovation and installations, visit poolrenovation.com. Transform your pool into a stunning sanctuary with the perfect finishing touches including expertly chosen pool nosing tiles.